Showing posts with label summer. Show all posts

Friday, August 3, 2012

Cupcakin' It Old School - Jell-O Poke Cupcakes!


Back in the day there was not a dessert I loved more than Jell-O Poke Cake!  Seriously, this combo of jello and cake could not be beat.  :)  In an effort to make them more portable and eater friendly I wanted to make a cupcake version.  This recipe has been around, as far as I can tell, since the dawn of time.  Is there anyone who hasn't had this cake?!  If you haven't I urge you to make this summertime staple.  It couldn't be easier and it's just delicious!!

Begin by baking up some cupcakes.  There are so many combinations you make.  The standard while growing up in my family was white cake with fruit jello, usually strawberry.  I made a vanilla cake with Blackberry Jell-O.  Yum.  Prepare the cake batter as directed (you can use a box mix or your favorite recipe). After baking, remove from oven and let cool for around 15 minutes, give or take.  In the meantime, dissolve one package of Jell-O in one cup of boiling water.  Using a fork, poke holes in the top of each cupcake.


Once the Jell-O is dissolved completely, spoon or brush it over the tops of the cupcakes.  I poured one spoonful at a time on each of 24 cupcakes until the Jell-O mixture was gone.


Place cupcakes in your refrigerator for at least 30 minutes to chill.  Next, prepare the topping.  I've had this two ways: either Whipped Topping or Pudding Topping.  I do have a preference for the whipped version.  You can either use Cool Whip or make your own.

Homemade Whipped Cream

1 cup heavy whipping cream
1/4 cup sugar
1 teaspoon vanilla

Combine all ingredients in a large bowl (large to prevent spray of cream flying everywhere!).  Using an electric mixer, beat on medium until mixture thickens, at which time increase speed up to high.  Beat about 4-5 minutes until peaks form.  To see photos of this process in one minute intervals, click here.

If the Pudding Topping sounds more appetizing to you, try this recipe:

Dream Whip Frosting

1 1/2 cups cold milk
1 envelope vanilla instant pudding
1 envelope Dream Whip

Beat milk and Dream Whip on medium speed until mixture thickens enough to beat on high speed.  Beat until peaks form.  Add pudding and beat until well combined.

Pipe or spread your desired topping onto the cupcakes and refrigerate immediately.  Store any remaining cupcakes in the fridge.  These cupcakes are best eaten chilled.  Look at the pop of color when you take a big bite:  


I hope you have a chance to make these before summer's end.


Wednesday, January 4, 2012

Please, Sir, May I Have A S'more?


I don't know about you, but where I live it's under 20 degrees Fahrenheit these days.  Obviously, that's too cold to make S'mores sitting outside by a campfire.  So, I am bringing the S'more's inside to my warm kitchen!  This is a delicious, graham crackery cookie version of the classic treat.

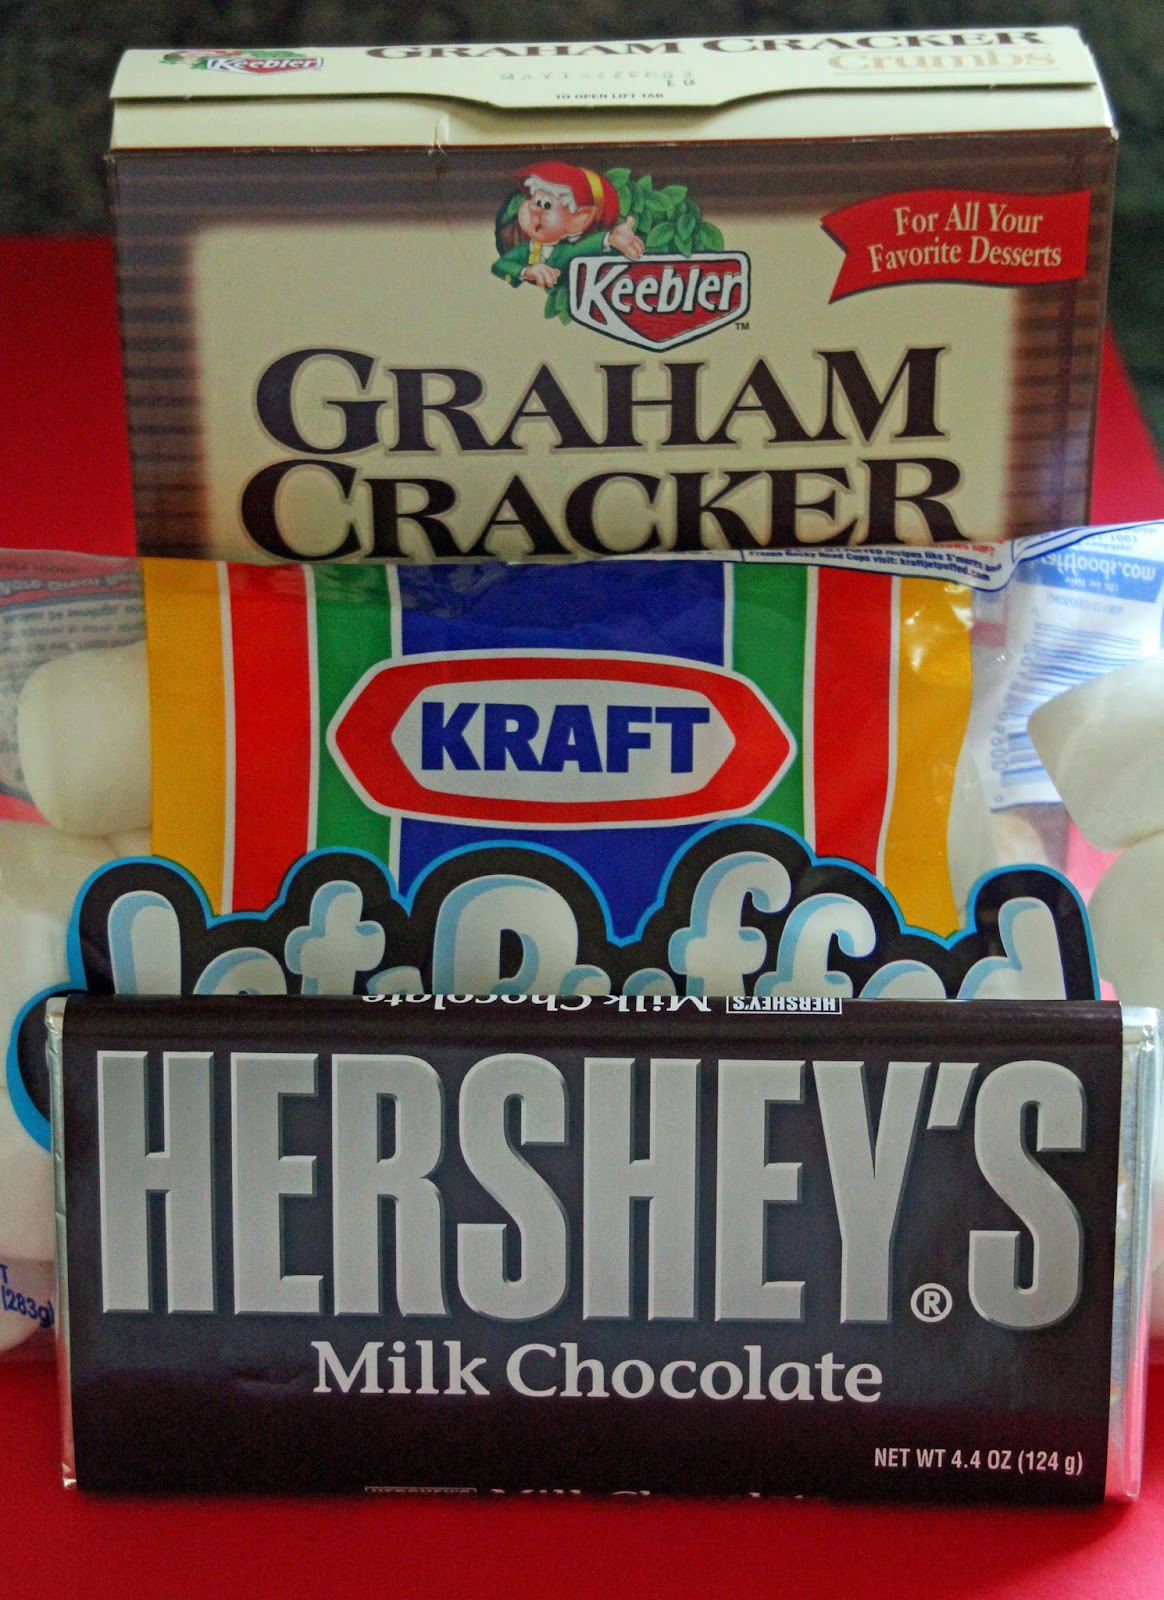
To begin, you need to assemble the usual ingredients, plus a few more.  But first the essentials!


This recipe comes from one of my favorite sources of clever food ideas - those Pillsbury Classic Cookbooks you find in the magazine rack in most grocery check out lanes.  These Smore's Cookies can be found in the December 2007/January 2008 Holiday Cookie edition.

S'more Thumbprint Cookies
from Pillsbury Classic Cookbook

1 cup butter softened
1/2 cup packed brown sugar
1 egg
1 teaspoon vanilla
1 1/3 cups all-purpose flour
1 cup finely ground graham cracker crumbs (16 cracker squares)
1/8 teaspoon salt
120 miniature marshmallows
60 rectangles milk chocolate (four 1.55oz bars)

Preheat oven to 325 degrees.  In a large bowl, beat butter and brown sugar with electric mixer on medium speed until light and fluffy.  Add egg and vanilla; beat until well blended.  Add flour, cracker crumbs and salt; on low speed beat about 1 minute or until stiff dough forms.

Roll dough  into 60 balls and place on ungreased cookie sheets about 2 inches apart.  With thumb, make indentation in center of each.


Bake 10-12 minutes or until cookies are firm and edges are just beginning to brown.

One of the things I love about these cookies is that they don't spread while baking!

Lightly press 2 marshmallows in center of each cookie; bake 2-3 minutes longer.  


After removing cookies from oven place a rectangle of chocolate on top of the marshmallows.  


Let stand 2-3 minutes.  With tip of knife, gently spread chocolate over marshmallows.


 Let stand until chocolate is set.

Note:  To make graham cracker crumbs break 16 squares into food processor bowl with metal blade.  Cover; process until fine crumbs.  I have also placed the crackers in a large ziploc bag and crushed them with a rolling pin.  

That's it!  Super easy and super fun.  They taste great, too.  I actually enjoy eating one or two before the chocolate sets, while it's warm and gooey.


I also kind of like the way the cookie look without spreading the chocolate.  I like the HERSHEY written across the top.  I like them both ways, it's really a preference thing.  Regardless of how you decide to serve them, I hope you enjoy the summery/fall goodness of S'mores all year round!


I have shared this recipe on:


Wednesday, August 31, 2011

Did someone scream for Ice Cream?!


This has been a pretty busy week and it's been difficult to fit everything in, even baking, which is what I'd prefer to be doing. I made some ice cream cone cut-out cookies and spent two days icing them in stages when I could squeeze it in. My friend Amy gave me an ice cream cone cookie cutter as a gift and I was excited to try it out! It took me some time finally use it because I can get so intimidated trying new designs and things outside my comfort zone. I finally gave it a go, and I'm happy with the results. As always, I have ideas how to tweak the cone and designs for the ice cream....a whole world of possibilities! If you have any suggestions on colors or combinations I can try, leave them in the comments below. I'd love to hear what you think!