Showing posts with label holiday. Show all posts

Wednesday, January 4, 2012

Please, Sir, May I Have A S'more?


I don't know about you, but where I live it's under 20 degrees Fahrenheit these days.  Obviously, that's too cold to make S'mores sitting outside by a campfire.  So, I am bringing the S'more's inside to my warm kitchen!  This is a delicious, graham crackery cookie version of the classic treat.

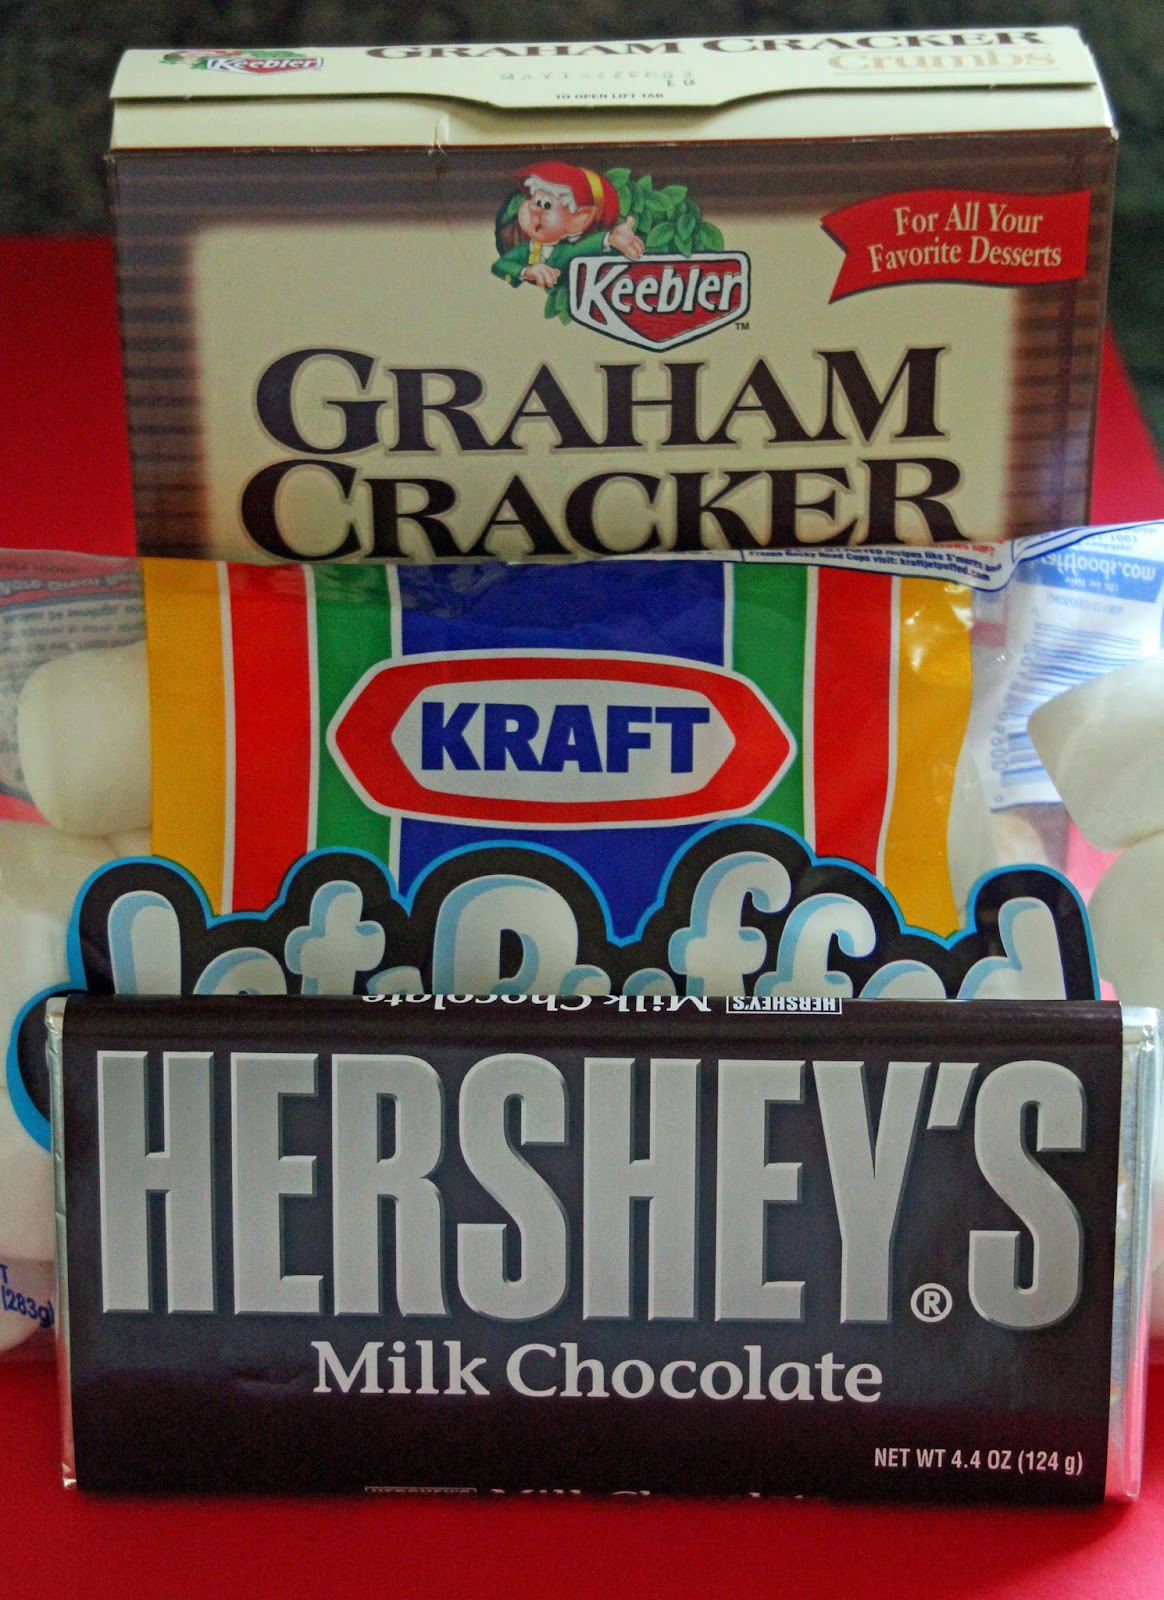
To begin, you need to assemble the usual ingredients, plus a few more.  But first the essentials!


This recipe comes from one of my favorite sources of clever food ideas - those Pillsbury Classic Cookbooks you find in the magazine rack in most grocery check out lanes.  These Smore's Cookies can be found in the December 2007/January 2008 Holiday Cookie edition.

S'more Thumbprint Cookies
from Pillsbury Classic Cookbook

1 cup butter softened
1/2 cup packed brown sugar
1 egg
1 teaspoon vanilla
1 1/3 cups all-purpose flour
1 cup finely ground graham cracker crumbs (16 cracker squares)
1/8 teaspoon salt
120 miniature marshmallows
60 rectangles milk chocolate (four 1.55oz bars)

Preheat oven to 325 degrees.  In a large bowl, beat butter and brown sugar with electric mixer on medium speed until light and fluffy.  Add egg and vanilla; beat until well blended.  Add flour, cracker crumbs and salt; on low speed beat about 1 minute or until stiff dough forms.

Roll dough  into 60 balls and place on ungreased cookie sheets about 2 inches apart.  With thumb, make indentation in center of each.


Bake 10-12 minutes or until cookies are firm and edges are just beginning to brown.

One of the things I love about these cookies is that they don't spread while baking!

Lightly press 2 marshmallows in center of each cookie; bake 2-3 minutes longer.  


After removing cookies from oven place a rectangle of chocolate on top of the marshmallows.  


Let stand 2-3 minutes.  With tip of knife, gently spread chocolate over marshmallows.


 Let stand until chocolate is set.

Note:  To make graham cracker crumbs break 16 squares into food processor bowl with metal blade.  Cover; process until fine crumbs.  I have also placed the crackers in a large ziploc bag and crushed them with a rolling pin.  

That's it!  Super easy and super fun.  They taste great, too.  I actually enjoy eating one or two before the chocolate sets, while it's warm and gooey.


I also kind of like the way the cookie look without spreading the chocolate.  I like the HERSHEY written across the top.  I like them both ways, it's really a preference thing.  Regardless of how you decide to serve them, I hope you enjoy the summery/fall goodness of S'mores all year round!


I have shared this recipe on:


Tuesday, January 3, 2012

A Bite of Brownie with a Candy Cane Kiss


Over the Holidays I had my heart set on making a chocolate ball cookie rolled in sugar topped by a Hershey Candy Cane Kiss, you know, essentially a chocolate Peanut Butter Blossom (in case I haven't mentioned how much I love them!).  Although I am not a big fan of the zillions of Kiss combinations that are out there, these candy cane ones are adorable. 


So, I perused the internet for chocolate cookie recipes, specifically ones that would result in a nice, puffy cookie and experimented with a few, but they all fell flat (pun intended!).  I cannot stand when cookies bake into eachother, creating a flat side on a round cookie.  Drives me crazy!


At this point I became quite annoyed and considered a plan B.  I decided on brownie bites.  I used a box mix, Duncan Hines Dark Chocolate, and baked up the bites as directed using a mini muffin pan.  I sprayed Pam cooking spray on the pan and used a paper towel to remove excess spray and make sure it was applied evenly.


Once they came out of the oven, I placed a Candy Cane Kiss in the middle of the brownie.  I noticed doing it this way it created an unattractive crack in the indent.  


So, I used a tablespoon measure to make the indent, which looked better.


Once the Kisses are placed on top of  the brownie bites, let them cool for at least an hour before removing from the pan.  Doing so before they are sufficiently cooled can result in deformed Kisses.  The middle bite in the photo below serves as an example of my impatience.


These bites feel like cheating because they are so easy to make.  They are also a nice spur of the moment treat if company is coming with short notice.  The Kisses have a very strong peppermint taste, which compliments the chocolate of the brownies very nicely.  I think they look festive for the Holiday Season, too!

Sunday, January 1, 2012

My All Time Favorite - Peanut Butter Blossoms!


If there's one cookie I have no self control over, it's the Peanut Butter Blossom.  I think this cookie is absolute perfection.  Chocolate and peanut butter goodness.  And they're cute, too!

Since I've started this blog, the most popular post by far has been my pink peanut butter zebra stripe cookie.  It's just a variation on a theme; using pink dye for the dough and a Hershey Hug rather than a Kiss, and it has taken off like wildfire!  I'd like to give some love to the inspiration, the irreplaceable, the original Peanut Butter Blossom.

For me, this cookie represents the Thanksgiving through New Year's holiday season.  It's not a celebration if these are not present on the dessert table, so I made some.  More than some, actually.  I made a LOT.  Here's how I did it:


Peanut Butter Cookies (adapted from Betty Crocker's Cookbook)

1/2 cup granulated sugar
1/2 cup brown sugar
1/2 cup peanut butter (I prefer Reese's Peanut Butter)
1/4 cup shortening (I prefer Crisco baking sticks, butter flavor)
1/4 cup butter, softened
2 tablespoons milk
1 egg
1 1/4 cups all purpose flour
3/4 teaspoon baking soda
1/2 teaspoon baking powder

Cream together the butter, shortening, and peanut butter. Mix in sugars, egg and milk. Add the remaining ingredients. Preheat oven to 375 degrees. Roll the dough into 1 1/2 - 2 inch balls.  Dredge the balls through sugar and place on an ungreased cookie sheet at least three inches apart. 


Bake between 9-10 minutes.  While they are baking, unwrap enough Hershey Kiss's to place on top of each cookie.


After removing cookies from the oven, push a Hershey Kiss into the center of each one.  Let cookies cool several minutes before removing them from cookie sheet.


 Be careful not to touch the kiss for at least an hour after placing them on the cookie.  It will keep it's shape, but it will also be quite soft and easy to squish.  After a few hours they will be perfectly set and you can stack them in an airtight container for storage.  If they last that long!


Saturday, December 31, 2011

Snowflake Cut-Out Cookies


From my home to yours I'd like to wish you all a HAPPIEST NEW YEAR!!  May 2012 be your best yet!!!

Unfortunately for me, this holiday season I've been plagued by a cold/flu that won't seem to go away.  This meant I did not make nearly as many treats as I'd have liked.  I did the best I could, though, and had a great time with these snowflakes.  I really do love making cut-out cookies!  I find the icing of cookies very relaxing and great opportunity to be creative.  Snowflakes are the perfect shape to experiment with new designs and have some fun decorating.

I made both small and large cookies.  For the background of the cookie I chose a light blue so the white flake design would stand out more  I used the standard outline and flood method.  To decorate the small flakes, I used a #1 tip with a very thick icing mixture of water and sifted confectioners sugar poured into a pastry bag.  The icing was thick enough that my hand began to cramp up from squeezing.  I made the icing so thick because I did not want it to spread and not keep its' shape.  Despite the discomfort, I love the way they turned out!


I need much more work on my hand control to make the lines even.  I free-formed the designs and want to try different patterns.  I'm actually excited to make more!

For the large snowflake cookies, I used a #2 tip with what I THOUGHT was a thick enough icing, but it wasn't.  So, the lines spread out more than I'd hoped.  Since they were large it wasn't that big of a deal, so I finished them with the icing mixture I had prepared.  They were pretty, but I still think they would look lovelier with a thinner flake line.  When I make them again I'll post an update!


Thursday, October 6, 2011

Autumn Leaves Are Gently Falling on Chocolate Trees!


That is, they are gently falling from chocolate trees onto plush buttercream grass!  Oh, how I love October - the changing of leaves, crisp days and nights, hats and scarves, Halloween, my birthday and, of course, new baking possibilities!  Apples, pumpkins, and cider...oh, my!  So many recipes, so little time.  Where should we start?  I say with the bright colored leaves of fall!

Awhile ago, as I always seem to be, I was browsing through fall baking ideas.  I fell in LOVE with  the chocolate trees I found here.  All you need is chocolate and Autumn Leaves Quins...which, as it turns out, are not so easy to find.  Eventually, I ordered them from Amazon.com.  They took a bit of time to arrive, but when they did I was hardly able to contain myself.  I baked up some cupcakes immediately, melted the chocolate, placed waxed paper on the counter (any flat surface will do), and started on the trees.

Once you have melted the chocolate, pour it into a plastic pastry bag or Ziploc baggie.  Cut the end (or corner of the bag if using a Ziploc) off a little at a time.  You can always make a bigger whole, but cannot make it smaller!  I learned this the hard way when I cut too much off the end and had a flood of chocolate flowing everywhere.  Next time, I will use a funnel to pour the chocolate into a squeeze bottle for more control over the flow.  I'm still orienting myself with pastry bags in general!

Make the rough shape of a tree and a few branches on the waxed paper:


Next, take a toothpick to make a thicker trunk and whimsical branches.  Be sure to use enough chocolate to make a sturdy tree trunk because you want the tree to be strong enough to stand on it's own once placed in the cupcake.  Also, do not worry about smoothing the chocolate perfectly.  The swirls and texture will make the hardened chocolate look more tree-like.


While the chocolate is still wet, sprinkle some of the Autumn Leaves quins on the branches.  Work on one tree at a time.  The leaves will stay on the branches nicely once the chocolate hardens.


While the trees are setting, approximately 10-15 minutes, begin frosting the cupcakes.  I mixed up some buttercream icing, but you can use canned frosting if you prefer.  Dye the icing green using gel or liquid dye.  You can spread the icing on the cupcake as your normally would, but I bought an icing tip shaped to create the effect of grass (as well as many other things).


Once the cupcakes are frosted, carefully peel a chocolate tree off of the wax paper.  Start with the trunk and work your way up.  Go slowly, especially with the branches, and there should be no breakage.  Look at how lovely the leaves look!


After you've lifted the tree, push it into the center of an iced cupcake.  Repeat this process until you have created an entire forest.  The result is magical!  Wouldn't these be cute at place settings on a Holiday table?


HAPPY FALL  EVERYONE!!!


Monday, October 3, 2011

Reese's Peanut Butter Pumpkins


Right off I'm going to say part of me wishes I didn't make these.  I have absolutely no self control around the holiday times when Reese's sells their peanut butter eggs, trees, hearts, and pumpkins.  It's a problem.  So, obviously I am taking a big risk learning how to make them in my own house.  But I did.  And they taste perfect.  And I'm sure I'm going to regret this day!

I found this recipe here and restrained myself as long as I could from giving it a try.  They are so simple you may or may not want to make them yourself.  It all depends on whether or not YOU have self control to stop at just one, or two, or....you get the idea.

Anyway, this is what you need:

Reese's Peanut Butter Pumpkins

1 cup creamy peanut butter (I used Reese's Peanut Butter)
1/4 cup melted butter
2 cups powdered sugar
1-2 tablespoons milk
1 1/2 cups of melting chocolate

Mix together the peanut butter, sugar and butter.  If the mixture is too thick, add the 1-2 tablespoons of milk.  The texture should be stiff but pliable, like Play-Doh.  Place the mixture onto a flat surface and spread evenly until is the thickness you desire.


Next, use a cookie cutter or mold your own shapes to dip into chocolate.  I did not have a small pumpkin cutter, so I used a small Christmas ornament cutter, which I then shaped into a pumpkin myself.  While I was at it, I cut out a few trees to see how they would look.


Also, I could not help but use my small Buffalo cookie cutter to make some Buffalo's.  I love representing my home!  Once you cut out your shapes (continue remolding the scraps until you have used all of the peanut butter mixture.  I also made some ball shapes to make a truffly version.), place them in the freezer for about 10-15 minutes.  Use a toothpick stuck in the side of your shape to dip them into melted chocolate.  I used Merkins melting milk chocolate wafers.  Melt them in a microwaveable bowl for 30 second intervals on Power Level 2 until all chocolate is melted smooth.


After letting the excess chocolate drip off, place the dipped shape onto waxed paper and remove the toothpick.  Dab a bit of chocolate onto the hole where the toothpick was.  I made the mistake of placing my shapes on a baking rack.  I do not advise this, as my shapes stuck to the rack and were not only difficult to remove, but also many of them tore.  The ones I placed on waxed paper had excess chocolate melted around the edges, but they came off the paper with no problem and held their shape wonderfully.


How GREAT are these??!!  And they taste so, so, so delicious!  Really, in a blindfolded taste test I would not be able to tell the difference between these and the real thing.  See, this is a problem.  Give them a try yourself, you won't regret it.  Or, you might!