Sunday, October 30, 2011

Chocolatey Halloween Baked Donuts


I found THE most amazing chocolate donut recipe.  I will look no further, this one is it!  I love when a recipe is just right on the first try.  Another great thing is that it yields 6 donuts, so if you have the urge to make them you will not end up with an army of donuts that need eating!!

So, here's the recipe:

Chocolate Baked Donuts
(adapted from Handle the Heat)

Note : It may seem strange to add nutmeg to a chocolate recipe, but nutmeg is the key to a recognizable doughnut flavor. It’s fine to leave it out, but your doughnuts may taste a bit more like chocolate cupcakes.

1 cup of flour
2 tablespoons Dutch cocoa powder
1 teaspoon baking powder
1/4 teaspoon baking soda
2/3 cup sugar
1/2 teaspoon nutmeg
1/2 teaspoon fine grain salt
2 tablespoons unsalted butter
1/2 cup milk (I used 2%)
1/4 cup plain yogurt
1 teaspoon vanilla extract
1 large egg

Preheat oven to 400 degrees and lightly grease donut pan (or muffin tin).  Sift together flour, cocoa powder, baking powder and baking soda, then whisk in sugar, nutmeg and salt.  Using your fingers, add the butter working it into the dry ingredients until course crumbles are formed.  In a separate bowl, whisk together the milk, yogurt and egg.  Add the dry ingredients and stir until they are just combined.


You do not want to over mix the donuts or they will bake up dense and heavy, rather than light and fluffy.  To place donut batter into the donut pan cavities, pour the batter into a ziploc bag, cutting off one corner.  You can then squeeze the batter into the pan with minimal mess.  Fill each cavity about 1/2 to 3/4 full.


If you overfill the pan the donuts will bake up without a hole in the middle.  Bake for 8-10 minutes until the donuts spring back lightly when touched.  Place on a rack to cool slightly before adding the glaze.

Chocolate Glaze

1/4 Cup unsalted butter
4 tablespoons whole milk, warmed (I used 2%)
1/2 tablespoon light corn syrup
1 teaspoon vanilla extract
2 ounces bittersweet chocolate, chopped
1 cup confectioners sugar, sifted

Combine butter, milk, corn syrup and vanilla in a medium sauce pan over medium heat until butter is melted.  Decrease heat, blend in  chocolate, whisking until it's melted.  Turn off the heat and add powdered sugar, whisking until smooth.  Place the mixture over a bowl of hot water and dip immediately into the glaze mixture.  Allow glaze to set 30 minutes before serving.


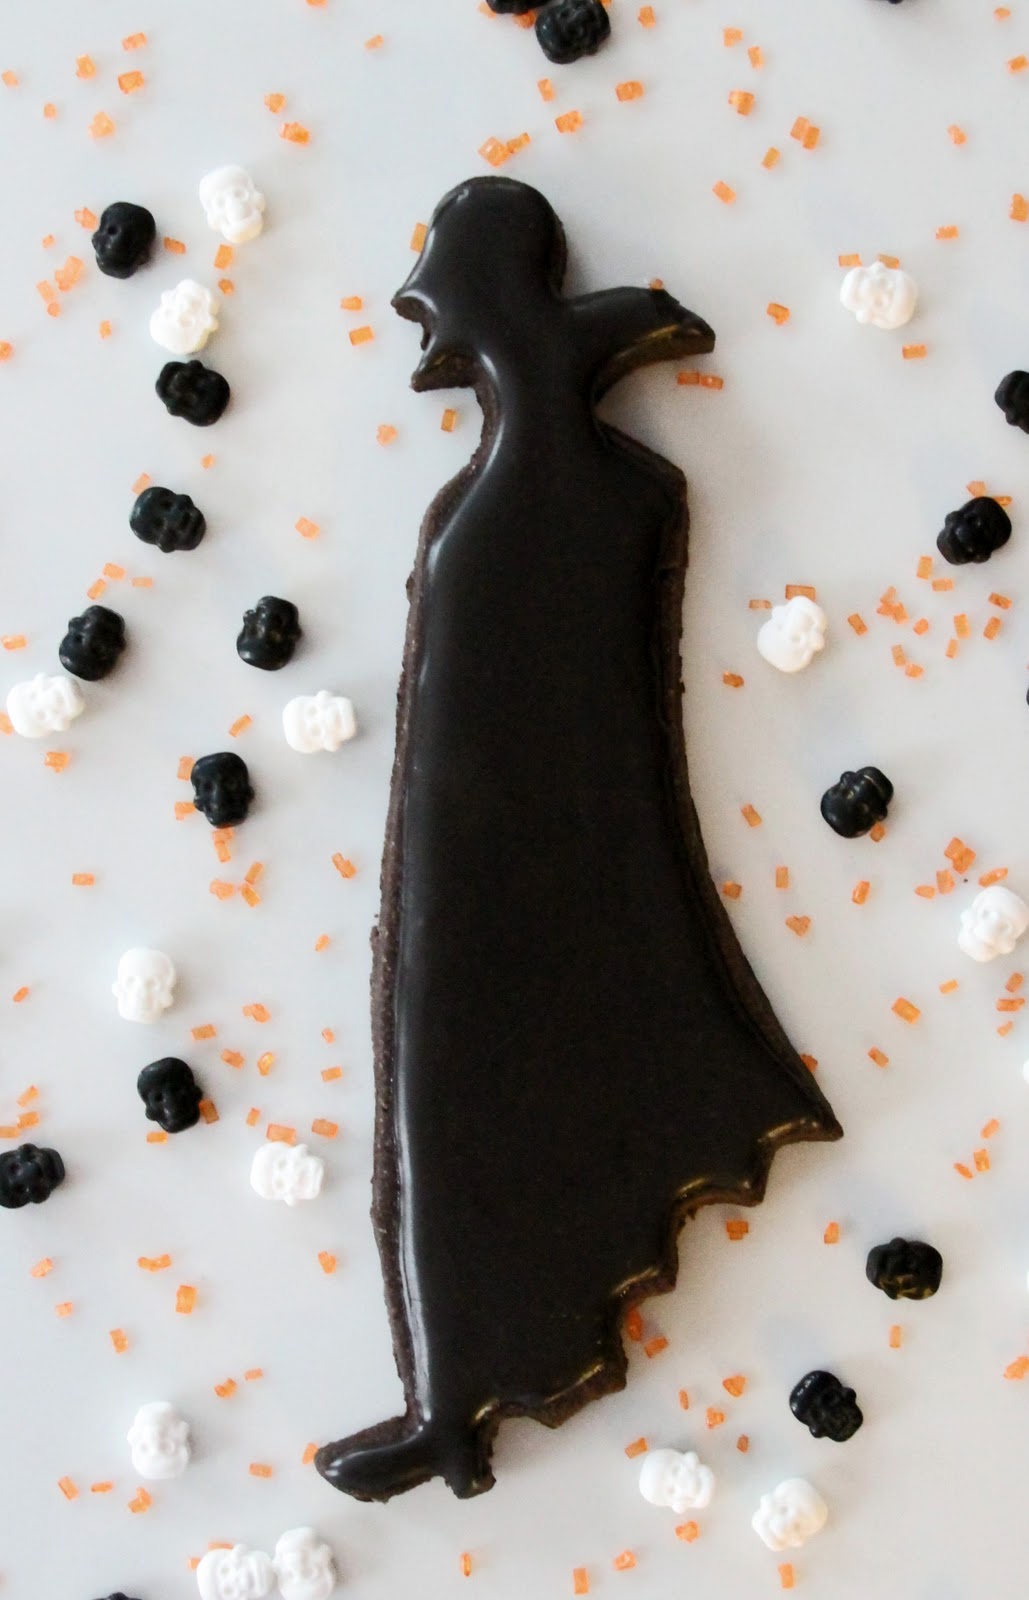
I wanted to "Halloween-up" my donuts, so added black gel food dye into the donut batter to darken it up a bit.  I also added black dye to the chocolate glaze until it was a nice, deep, black color.  I tried dipping the first two donuts in the glaze, but they broke apart and were a mess.  For the remaining 4 I place a sheet of waxed paper underneath the cooling rack and spooned on the glaze.  This worked perfectly.  When I finished, I removed the waxed paper and was left with no mess at all.


Once glazed, I sprinkled on some orange and white ice cream sprinkles I had in my pantry.  They look delicious and taste even better!  What a great way to start off Halloween day by baking these for breakfast with your ghouls and goblins.  :)


Saturday, October 29, 2011

What, or Who is lurking in the Shadows?!


We are just a few days away from my favorite holiday - HALLOWEEN!  I love everything about it, the colors, the time of year, and, of course, the treats!  And I love breaking out my adorable Halloween measuring spoons!   :)


My first project is a cookie made with what is now my favorite cookie cutter ever!  I found this Nosferatu cutter at Sur La Table.  It is so creepy and a touch frightening looking, unusual for a cookie cutter.  Immediately I knew I had to have it.  This cookie did not disappoint.

I mixed up my favorite chocolate cookie dough recipe:

Chocolate Cut-Out Cookies
adapted from recipe found on Bake at 350

1 cup unsalted butter
1 cup sugar
1 egg
1 teaspoon vanilla
1/2 cup baking cocoa
1/2 teaspoon coarse salt
2 1/2 cups all-purpose flour

Preheat oven to 350 degrees. Whisk together the dry ingredients and set them aside. Cream together butter and sugar. Beat in the egg and vanilla. Combine the flour mixture a little at a time. Roll the dough onto a floured/cocoa-ed surface. Cut out desired shapes with selected cookie cutters. Freeze cut-outs on cookie sheet for 5 minutes before baking to ensure baked cookies will keep their shape. Decorate with icing as desired.


Bake the cookies for 8-10 minutes and let them cool.  I stared long and hard at the cookie for decor ideas, but in the end I decided a solid, deep black would be best.  In my opinion, there's not much more to be done here to make this cooler looking.  Besides, aren't spooky, shadowy figures what Halloween is all about?!

I mixed together sifted confectioners sugar with a touch of water until the icing was the consistency I wanted.  I was going for a thicker icing so it would not flow over the edges of the cookie.  I used a #1 tip to outline Nosferatu.  Then I filled in the middle with more icing and used a toothpick to coax it to the edges being careful not to go over the outline.  This is quite a large cutter so I worked with two cookies at a time.

What fun Halloween treats will you be making this year? 


Celebrating Star Wars!


Last month George Lucas released the Star Wars Saga on Blu-ray.  This was a big day for the fans!  I'm a bit late in the game, but I had some Star Wars baking tools I wanted to experiment with in honor of my favorite Movie Trilogies!

First, I purchased a Star Wars cookie cutter set from Williams-Sonoma.  It 's an absolutely fantastic set, however I will need to spend more time figuring out how to ice them more appropriately, or if they should be iced at all.  I started with Darth Vader, as I wanted to use a chocolate cookie dough.  These cutters also are press cookies that make a crisp, indented image in the cut out.


The one pictured above is covered in flour so that I don't forget to tell you that you MUST dip the cutter in flour each time you cutout a cookie or dough will become stuck in the crevices and the shape will be unusable.  I learned this the hard way!  

So, you begin by mixing up chocolate cut-out cookie dough.  This is my favorite recipe:

Chocolate Cut-Out Cookies
adapted from recipe found on Bake at 350 (also my inspiration for these cookies!)

1 cup unsalted butter
1 cup sugar
1 egg
1 teaspoon vanilla
1/2 cup baking cocoa
1/2 teaspoon coarse salt
2 1/2 cups all-purpose flour

Preheat oven to 350 degrees. Whisk together the dry ingredients and set them aside. Cream together butter and sugar. Beat in the egg and vanilla. Combine the flour mixture a little at a time. Roll the dough onto a floured/cocoa-ed surface. Cut out desired shapes with selected cookie cutters. Freeze cut-outs on cookie sheet for 5 minutes before baking to ensure baked cookies will keep their shape. Decorate with icing as desired.

Next, roll out the dough and start cutting the shapes.  With the press cutters, once you have positioned the cutter and pressed it into the dough, you should press down again to create a nice, indented image on the cookie.  Be sure to roll and cut the cookies on a FLOURED surface (again, if you don't properly flour the cookie will stick to the rolling surface and become extremely difficult to remove, likely resulting in tearing the shape).

This is what you don't want (shape stuck to counter):


This is what you do want (shape lifted up with cutter):


To remove the cookie, push the press down, place cutout on a cookie sheet.  Do not worry about the white flour on the cookie, it will bake right in:


Once they are baked, you can decorate them after they've cooled.  I mixed up some black icing to pipe into the crevices of the cookie.  It was much more difficult than I expected.  I used very thick icing and a #1 tip, but it still spread into other parts of the cookie.  I began to get the hang of it, but between you and me I was glad I ran out of cookies to pipe!  


Now, moving on from frustrating to extremely frustrating:  Cupcake Stencils.  These were also purchased at Williams-Sonoma.  Of course, the box instructions make it look so easy.  The idea is that the stencils are curved to mimic the dome of a cupcake to ensure crisp lines and perfect images.  I tried, I really did.  Many times.  I re-frosted cupcakes and started over and over again.  The stencils would stick to the frosting making the design messy when lifting the stencil up.  The sugar would build up in the middle of the design and not cover the edges.  All sorts of problems.  I'm not used to not being able to  figure out a way to get something the way I would like it to be.  In this instance the stencils won and I was defeated.  I suppose the force was not with me.  I need further baking Jedi training and Yoda's calming influence!

One bit of advice, let the frosting set for a few minutes so the stencil won't stick as much.


This cupcake had been frosted and re-frosted so many times it became a bit messy.
I also made cupcakes with the rest of the stencils, too, just for "fun".  Here they are:


I'm not 100% sure I will try these again.  We'll see!  This is one of the instances I would have preferred not to post my baking project because I'm not happy with it.  However, I promised I would share the good and the bad.  It's all in the trying anyway!  Happy Baking.  :)

Cookies for the Cure!


A few days ago I returned from a trip to Napa Valley, California with my husband and I was deprived of something I will never again take for granted:  the internet.  I hadn't realized how dependent I've become on it and how my life is adversely affected when I'm without.  I mean, I survived and all, but I wasn't able to get all of my blogging done and I spent way too much time trying.  And no, it wasn't because I drank too much wine that I had troubles!  Our hotel had the worst "high speed" connection I've ever used.  So, I will be posting my last pink treat for my Breast Cancer Awareness (last) Week today.

My idea was to make pale pink heart sugar cookies with a white chocolate ribbon.  They didn't turn out exactly as I had envisioned.  The ribbons were more difficult than I expected.  I need more practice making shapes by piping melted chocolate.  I actually enjoy doing that, so I will come up with more projects to work on to perfect it.

I started by mixing up a sugar cookie dough, rolling it and cutting heart shapes with a cookie cutter.  I baked them for 9 minutes exactly.


While they were baking I mixed together confectioners sugar together with water, drops at a time, until it was the consistency I wanted.  In this instance, I didn't measure anything out.  I added a few drops of red food coloring to make a pale pink.  I wanted to use a squeeze bottle to ice the cookies since I was using one color on the entire cookie.  To pour the icing into the bottle, I used a funnel.  This method works really well.


Once I added the icing, I thought the cookies needed some sparkle, so I sprinkled some hot pink disco dust on them.  In between icing and baking the cookies I melted some white chocolate Merkens chocolate wafers in the microwave.  I placed the chocolate in a piping bag and made the ribbon shape on waxed paper using the same method as the chocolate trees I made for the autumn leaves cupcakes.

Once the ribbons hardened, I carefully peeled them off of the waxed paper and pressed it into the middle of an iced cookie.


So, now October is coming to a close and another month focused on Cancer Awareness will have passed.  I know I am not alone in hoping that we find a cure and October will once again be known primarily for Halloween and the arrival of autumn.  Until that day comes, October will be the month we honor, celebrate, and fight together.

Thursday, October 20, 2011

Sensational Strawberry Filled Cupcakes


My next pink treat for Breast Cancer Awareness week is strawberry filled strawberry cupcakes with vanilla buttercream icing.  These are SO good I actually ate two in a row.  If you like strawberry, these are for you!

First, I mixed up a boxed strawberry cake.  In this instance, I prefer boxed cake to homemade.  I have yet to find a satisfyingly strawberry homemade cake recipe.  I have one more marked on my list to try...I'll get back to you on that!

After baking the cupcakes, I began the filling process.  I looked up all kinds of filling recipes, which I will experiment with more, but this time I used strawberry jam.  I was very, very happy with it as a cupcake filling.  To create space for the jam, I used a cupcake corer, which is a tool specifically designed for this job. 


As illustrated with the photo, you place the corer on the top center of the cupcake, push down, twist, and remove.  The idea is to take the "cored" part of the cupcake and use the top portion to cap the filled area of the cupcake.  Easy enough.  However, I found that the remains of the cupcake core were a bit of a mess and there was no intelligble cap left to add onto the cupcake.


Next, I filled the cavity with jam using a spoon.  Since I had no solid cap to cover the cupcake I improvised by packing some crumbs over the jam.


As an experiment, I also tried using a knife to core the cupcake.  This yielded much better results.  I cut a circle out of the middle of the cupcake - careful not to to go all the way to the bottom - and had a solid cupcake cap to top the filling.  This worked much better.


Really, I'm not sure it make a difference what method you use, or even if it's necessary to cap the cupcake at all, as it will all be smothered with icing anyway.  The only problem I foresee with the corer is having to constantly clean it between cupcakes.  I stuck with the knife method.

Once I completed the filling process, I piped buttercream frosting onto to each cupcake and added some pink cake sparkles.  Then I tried one.  And then another.  I could have eaten a third, but I do have some self restraint!  Filling cupcakes it a very easy process and you should give it a try.  I am going to have fun with new combinations of flavors.  Enjoy!

Tuesday, October 18, 2011

Delicious Hot Pink Baked Donuts


I'm trying to blog from across the country while on vacation, and the internet service is making this as difficult as possible!  Two days later, I am finally able to get this post up.  I should be able to blog until I return home with no issues now.  We'll see!  So, onto the donuts. 
I've come across some recipes for donuts that really have my curiosity piqued.  I mean, I love donuts!!  The ability to make them at home?  Sign me up!  However, I'm also trying to be mindful of what I eat (especially since I am baking and sampling, essentially ALL THE TIME!) so I thought I'd give some BAKED donuts a try.  They are much healthier than their fried counterparts.  They won't taste at all the same, I understand, but will they taste good?  Armed with a recipe and a donut baking pan I set to finding out!
In keeping with my Pink theme for this week, I settled on buttermilk donuts, which I would dye pink, with an icing glaze and pink sanding sugar.  I think these would be a great breakfast treat to bring to one of the many Breast Cancer Awareness Race for the Cure events that take place around the country.  I've participated in quite a few "walks for a cause" that provide donuts to the racers before and after the event.  Why not a healthier, pretty pink version to promote breast cancer awareness?


Fluffy Cake Donuts (adapted from allrecipes.com)

 2 cups all purpose flour
3/4 cup white sugar
2 teaspoons baking powder
1 teaspoon sat
3/4 cup buttermilk
2 eggs, beaten
1 teaspoon vanilla extract
1 tablespoon melted butter

Donut Glaze

1 cup confectioners' sugar
2 tablespoons hot water
1/2 teaspoon almond extract

Preheat oven to 325 degrees F (165 degrees C). Lightly grease a doughnut pan.  In a large bowl, mix flour, sugar, baking powder, and salt. Stir in milk, eggs, vanilla and buttermilk. Beat together until well blended.  Fill each doughnut cup approximately 3/4 full.  Be sure to go all the way around the circle so your baked donut will not end up looking like a "C".  An excellent tip for spreading the batter around the circle of the pan is to pour the batter into a ziploc bag and cut one of the ends off to pipe the donut batter evenly around cavity.  Wipe an residual batter off of the middle part of the donut ring so you will end up with a perfect donut hole in the center. Bake 8 to 10 minutes in a preheated oven, until doughnuts spring back when touched. Allow to cool slightly before removing from pan. 


To make glaze, blend confectioners' sugar, hot water and almond extract in a small bowl. Dip doughnuts in the glaze and place on a wire rack with waxed paper underneath to catch the glaze drippings.  Sprinkle with pink sanding sugar.


Some final notes about this recipe.  I am not so sure I like the buttermilk taste with the sweet icing.  The tang of the buttermilk, to me, does not match so well with the sugar.  I think the buttermilk may be more suited for a cinnamon sugar/butter topping.  When I make this recipe again I will use regular milk and add cinnamon.  Making baked donuts was a lot of fun, though, and I can't wait to experiment with more flavors such as apple, blueberry, and chocolate!

Monday, October 17, 2011

Baking for a Cause!


If you follow me on Facebook you know that I had an extremely frustrating baking week with nothing to show for my efforts.  Over-baking, lumpy chocolate, cracked bottles of organic honey, AND my birthday this past Wednesday, became the perfect excuse for me to walk away from the kitchen for a bit.  Hey, it happens!  But, it's like anything else in life....you have to get over it and get back to work!   Besides, even when I'm not baking, it's really what I'm thinking about all the time.  Planning, plotting, finding inspiration everywhere I look, and generally missing my time with the oven.  Mini-vacation is over....let's get baking!

Now, as we are well aware, October is Breast Cancer Awareness month.  There are a host of events organized all over the country to celebrate survivors, support those who are currently fighting, and honor friends and loved ones who have succumbed to this disease.  As pink is the adopted color for Breast Cancer Awareness, I will focus all week on pink treats for you to bake and share with others to show support.  I'll kick things off tomorrow with pink baked donuts, a healthier alternative to the fried version.  See you then!


Thursday, October 6, 2011

Autumn Leaves Are Gently Falling on Chocolate Trees!


That is, they are gently falling from chocolate trees onto plush buttercream grass!  Oh, how I love October - the changing of leaves, crisp days and nights, hats and scarves, Halloween, my birthday and, of course, new baking possibilities!  Apples, pumpkins, and cider...oh, my!  So many recipes, so little time.  Where should we start?  I say with the bright colored leaves of fall!

Awhile ago, as I always seem to be, I was browsing through fall baking ideas.  I fell in LOVE with  the chocolate trees I found here.  All you need is chocolate and Autumn Leaves Quins...which, as it turns out, are not so easy to find.  Eventually, I ordered them from Amazon.com.  They took a bit of time to arrive, but when they did I was hardly able to contain myself.  I baked up some cupcakes immediately, melted the chocolate, placed waxed paper on the counter (any flat surface will do), and started on the trees.

Once you have melted the chocolate, pour it into a plastic pastry bag or Ziploc baggie.  Cut the end (or corner of the bag if using a Ziploc) off a little at a time.  You can always make a bigger whole, but cannot make it smaller!  I learned this the hard way when I cut too much off the end and had a flood of chocolate flowing everywhere.  Next time, I will use a funnel to pour the chocolate into a squeeze bottle for more control over the flow.  I'm still orienting myself with pastry bags in general!

Make the rough shape of a tree and a few branches on the waxed paper:


Next, take a toothpick to make a thicker trunk and whimsical branches.  Be sure to use enough chocolate to make a sturdy tree trunk because you want the tree to be strong enough to stand on it's own once placed in the cupcake.  Also, do not worry about smoothing the chocolate perfectly.  The swirls and texture will make the hardened chocolate look more tree-like.


While the chocolate is still wet, sprinkle some of the Autumn Leaves quins on the branches.  Work on one tree at a time.  The leaves will stay on the branches nicely once the chocolate hardens.


While the trees are setting, approximately 10-15 minutes, begin frosting the cupcakes.  I mixed up some buttercream icing, but you can use canned frosting if you prefer.  Dye the icing green using gel or liquid dye.  You can spread the icing on the cupcake as your normally would, but I bought an icing tip shaped to create the effect of grass (as well as many other things).


Once the cupcakes are frosted, carefully peel a chocolate tree off of the wax paper.  Start with the trunk and work your way up.  Go slowly, especially with the branches, and there should be no breakage.  Look at how lovely the leaves look!


After you've lifted the tree, push it into the center of an iced cupcake.  Repeat this process until you have created an entire forest.  The result is magical!  Wouldn't these be cute at place settings on a Holiday table?


HAPPY FALL  EVERYONE!!!